
Before performing high-risk work, you must clearly understand the order you need to follow to protect yourself.

I greet you again and hope you’re having a very safe day. This time, I don’t want to focus on a single specific high-risk task. Instead, this article is about what you must know and consider before performing any type of high-risk work, so you can avoid accidents that could injure you or even cost you your life.
Although there is plenty of initiative and knowledge about how to act before carrying out high-risk tasks, the lack of order in the steps that should be followed for safe practices can create confusion when structuring your safety protocols.
In this article, I want to show you how the hierarchy of safety should be structured for high-risk work in general. If you follow it step by step, you will be able to organize your safety protocols, gain a clearer understanding of how to act, and determine which safety measures best apply and adapt to the place where you will be working.
NOTE: These hierarchies contain sequential steps. You cannot move to the second step without first resolving the first one.
I will detail the steps you must follow (in that order) to determine which protective measures you need before performing any high-risk task.
Step One:
Activate the Safety Management Systems.
What do I mean by Category 3?
When we are about to perform high-risk work, we are fully aware that, by definition, we are about to engage in a task that can cause serious harm—or even cost us our lives—such as working at height, electrical work, confined spaces, hot work, etc.
Since the worst possible consequence of all the tasks mentioned above—and many others included in that “etc.”—is death, it can be said that they are all equally dangerous. No one “dies more” than another. For this reason, all tasks that can cause permanent injury or immediate death in the event of an accident are placed in the same category: Category 3.
NOTE: The correct definition would be: Tasks that involve Category 3 risks.
Once you have identified that the task you are about to perform falls under Category 3 risk—meaning it could cost you your life in the event of an accident—you must move on to the next step: activating the safety systems and protocols.
Important: These systems and protocols apply to all high-risk tasks, adapted to your specific needs depending on the work being performed. You will see how this works as we continue.
Step Two:
Activate the Safety Management Systems.
What do we mean by Safety Management Systems?

The name of these systems—and the definitions you can find online—can sometimes be confusing due to the level of technical terminology involved. I want to be clear that I am not saying those definitions are wrong, nor do I intend to diminish the work of the many professionals who have helped shape them. Many of those definitions are technically correct.
What I want to do here is describe it in the simplest way possible, so we don’t get caught up in overly technical explanations that send us searching for meanings and terminology instead of focusing on practical understanding.
With that in mind, here is a practical way to look at it:

In simple terms, you can think of the Safety Management System as the set of documents you must gather before starting work—the required paperwork that must be completed before any hands-on activity begins.
For example: the Job Safety Analysis (JSA), work permits, records of pre-job safety talks, equipment inspections, occupational medical exams, and the required training for the task to be performed—among others. All of these are directly related to safety.
NOTE: Training is considered part of the documentation because, once completed, a certificate is issued—and that certificate is a document.
Depending on the company you are working for, the number of required documents may vary and can even exceed the examples mentioned above. This depends on each company’s internal policies, as every organization has its own documentation protocols.
As mentioned, the number of documents may be greater or smaller depending on the company. However, regardless of how many are required, there are three that must never be missing and are mandatory as part of the Safety Management System:
- Workers’ Compensation Insurance
- Job Safety Analysis (JSA)
- Training for the specific high-risk task to be performed (work at height, electrical risk, confined spaces, hot work, etc.)
NOTE: I am not considering the Hazard Identification and Risk Assessment (HIRA) as a mandatory daily document, since what you are reading here is carried out every day. The JSA is completed daily, whereas the HIRA is conducted before the entire project begins. Remember, safety is an everyday practice. I will also not go into further detail about training here, as it is clearly addressed in the JSA section that follows below.
What is a JSA?
In general terms, a JSA is a document prepared daily before starting work that helps us identify hazards in order to eliminate or minimize the risks associated with each part or step of the work process to be carried out during the day.
As its name indicates, the Job Safety Analysis is a document that helps you analyze how to work safely.
Based on this premise, let’s look at the components a JSA should include:
Each company may have its own JSA format, but they all share the same core structure, designed to help you identify the hazards and risks you will be exposed to during your work.
This structure is typically organized into columns with the following headings:
- Steps to be followed
- Hazards
- Risks
- Control measures (how to eliminate or minimize the risks)
NOTE: Sometimes slightly different terms are used for each column, but they all refer to the same concepts.
What do we place under “Steps to be Followed”?
Here, we list each part or step of the process that will be carried out during the workday, such as bringing tools to the work area, assembling scaffolding, connecting machinery, welding, drilling, and so on.
What do we place under “Hazards”?
In this section, we identify the source, object, or condition that could potentially cause an accident or harm to people.
What do we place under “Risks”?
Under risks, we list the potential consequences that may result from the identified hazards.
What is the difference between a hazard and a risk?
To avoid getting caught up in technical definitions, we can understand a hazard as anything that has the potential to cause harm—such as height, electricity, fire, scaffolding, moving machinery, a roadway, toxic gas, and so on.
A risk, on the other hand, is the harm that the hazard can actually cause.
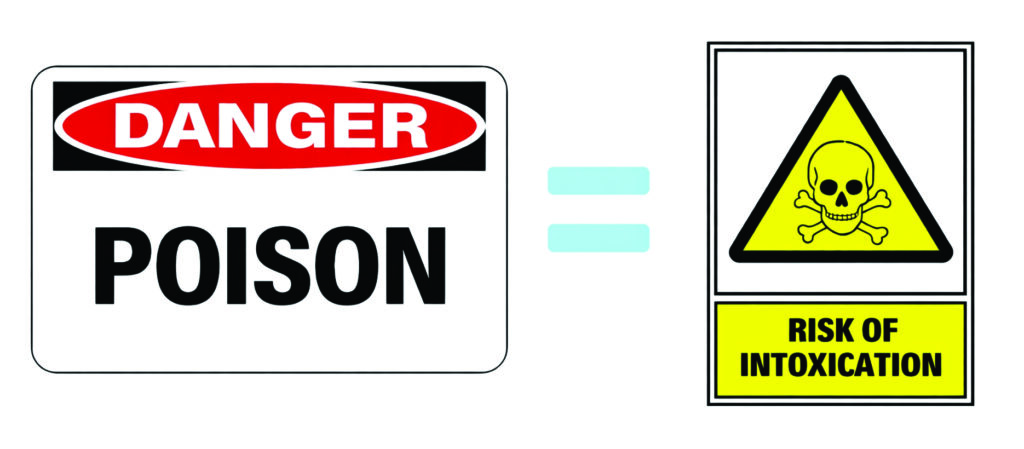
Using the hazard examples mentioned above, here is a corresponding risk for each one:
- Height = fall
- Electricity = electrocution
- Fire = burns
- Scaffolding = falling objects
- Moving machinery = struck-by incident
- Roadway = struck-by incident
- Toxic gas = poisoning
A hazard may involve one or multiple risks. We identify and analyze the hazards in order to eliminate or minimize the associated risks.
This becomes logical when we understand that hazards themselves cannot always be eliminated—we eliminate the risks. For example, we cannot eliminate height, but we can eliminate the risk of falling.
What do we place under “Control Measures”?
Here, we list the control measures we will implement to eliminate or minimize the risks derived from the hazards. The first action to reduce or eliminate risk is to be properly trained for the hazard involved in the task.
NOTE: Control measures are applied to the risks, not to the hazards, and they must address each risk identified for every hazard.
Let’s look at a JSA example with only two hazards to keep it brief:
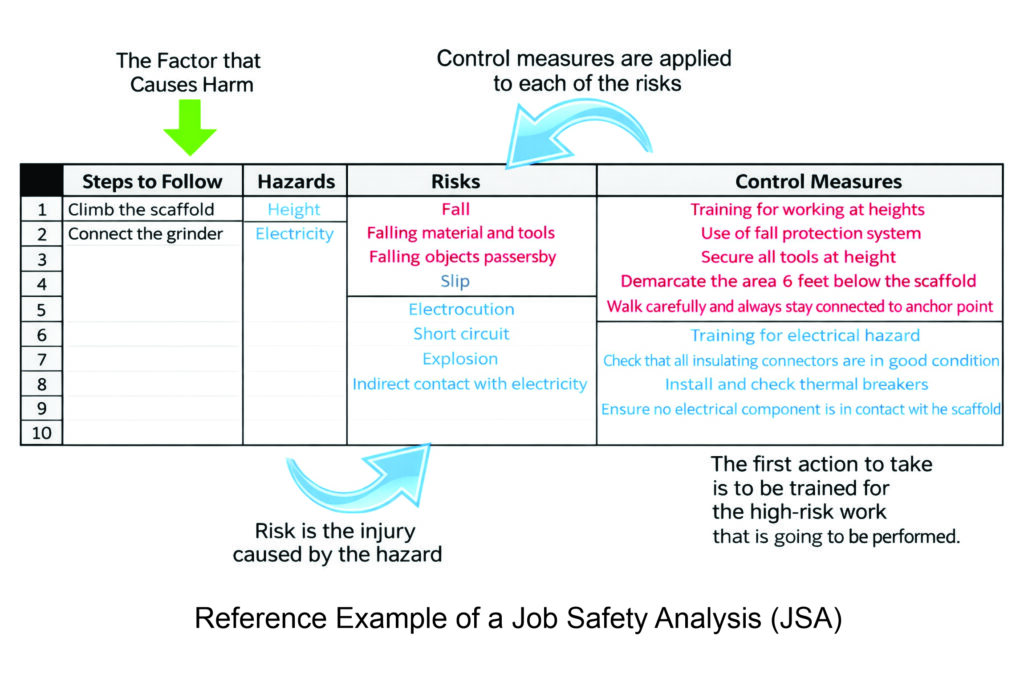
Important: A JSA is not effective if completed by only one person. Everyone involved must be aware of the hazards present and the risks they are exposed to. Remember, multiple perspectives are always better than one.
At this point, you can likely see why the JSA is considered the backbone of the Safety Management System.
Through the JSA, I know what hazards exist in the work area, what risks I will be exposed to, what type of training I need, and what equipment is required to protect myself.
NOTE: During training, you are taught which equipment is necessary for the specific high-risk task you will perform.
For example:
Through the JSA, I identify a height hazard. I recognize the risk of falling. I understand that the first requirement is proper training for working at height, and through that training, I learn which equipment I must use to protect myself.
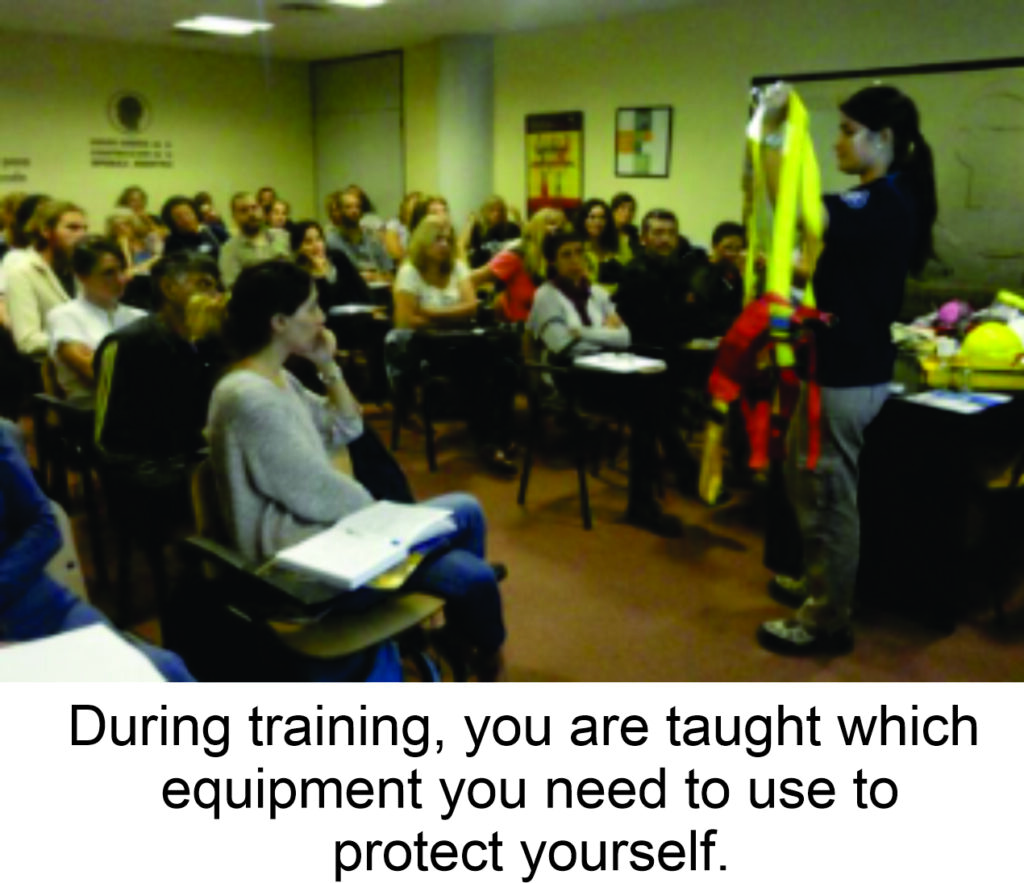
As you can see, the JSA is the backbone of the Safety Management System, since it identifies the hazards present and determines the equipment required to address them safely.
Step Three:
Activate the Protection Systems.
The protection system you need will depend on what the JSA indicates.
When properly completed, the JSA will determine whether your protection system is for work at height, electrical hazards, confined spaces, hot work, and so on.
NOTE: When we refer to protection systems, remember that this means a combination of elements working together with the purpose of protecting us.
In protection systems, we can choose between two approaches:
- Personal protection systems
- Collective protection systems
When we say “choose,” it means you may use either one. However, whenever possible, your first option should be to implement collective protection systems. If, for any reason, they cannot be used, then personal protection systems must be implemented.
Why should collective protection systems be considered as the first option?
Before answering that question, let’s first understand the difference between the two.

When we talk about a personal protection system, we are referring to a combination of elements or equipment that work together to protect a single person—and no one else. The term “personal” implies individual use, like a personal phone, a personal computer, or a personal matter.
Based on this idea, a personal protection system only protects the user from the risk. This is easy to understand: you cannot place two people in one fall protection harness, two people in one helmet, or have two people share the same pair of safety glasses or gloves. All of these are personal protective equipment.
NOTE: A set of personal protective equipment used together forms a personal protection system.
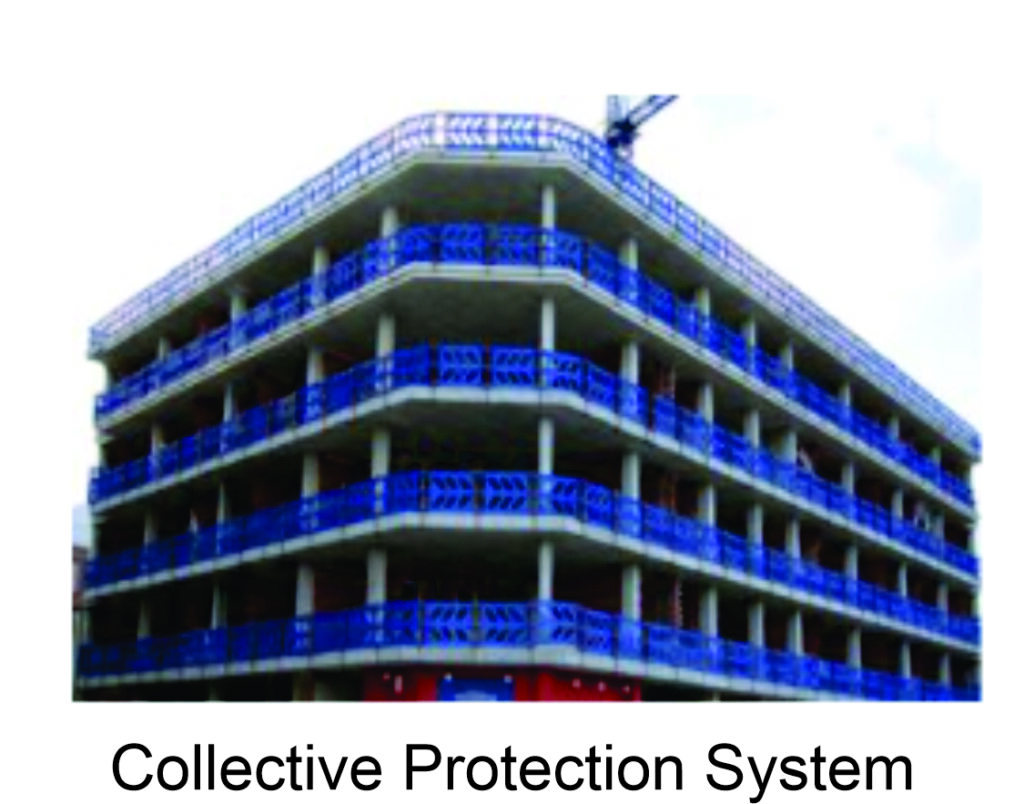
On the other hand, when we refer to a collective protection system, we are talking about a combination of elements designed to protect multiple people at the same time. For example, guardrails or parapets installed on a roof function as collective protection systems because they protect several people simultaneously from the risk of falling.
Any element that protects a group of people is considered a collective protection measure. For example:
- Guardrails or parapets = Protect a group of people working on a roof
- Pedestrian bridges = Protect multiple people crossing a roadway from being struck by vehicles
- Safety signage = Inform and guide multiple people toward exits or safe zones during an emergency
- Designated pedestrian walkways within facilities = Protect those walking through the area from being struck by moving machinery
- Perimeter lines or barricades = Protect people nearby by preventing access to hazardous areas
Now that this is clear, here is why collective protection systems should always be considered as the first option. If they are not available, cannot be implemented, or were simply not included in the project planning or budget, then personal protection systems must be used instead.
NOTE: The use of protection systems is mandatory. It does not matter which type is used, but at least one must always be in place.
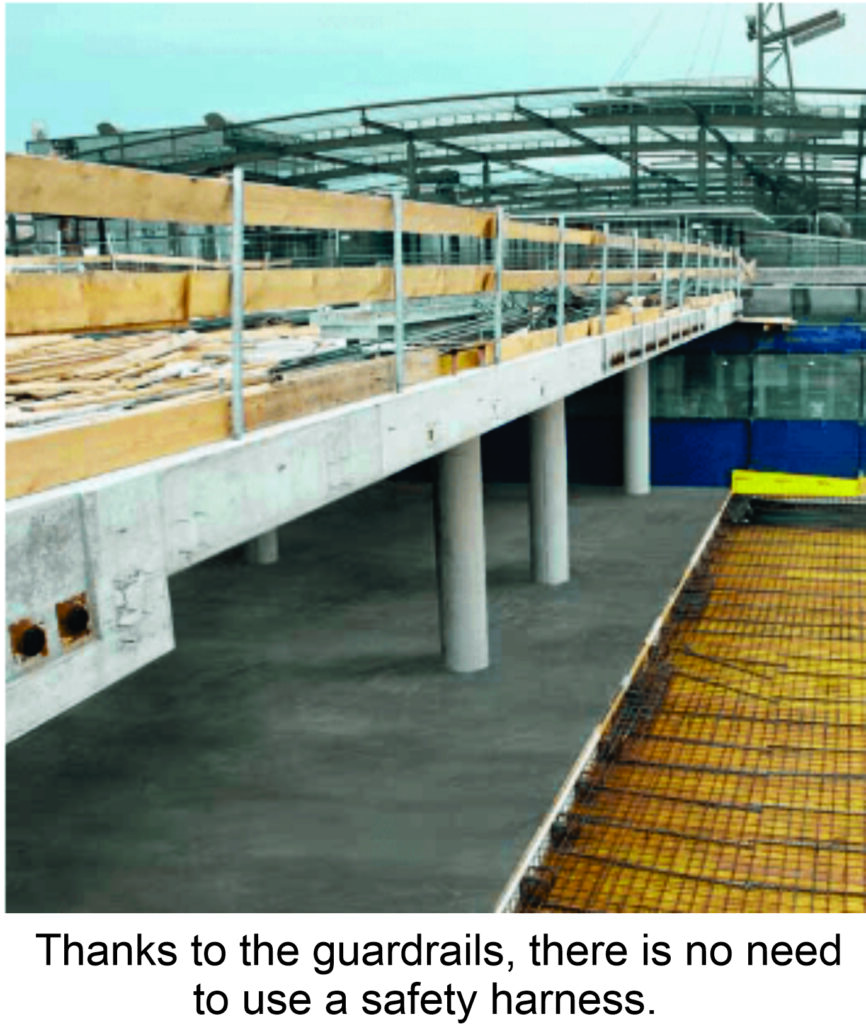
Let’s look at an example. Imagine a construction site with an unprotected edge at height facing the street, where someone could fall. The first option is to install a guardrail system along that edge so everyone can work safely without the risk of falling. Problem solved with a collective fall protection system.
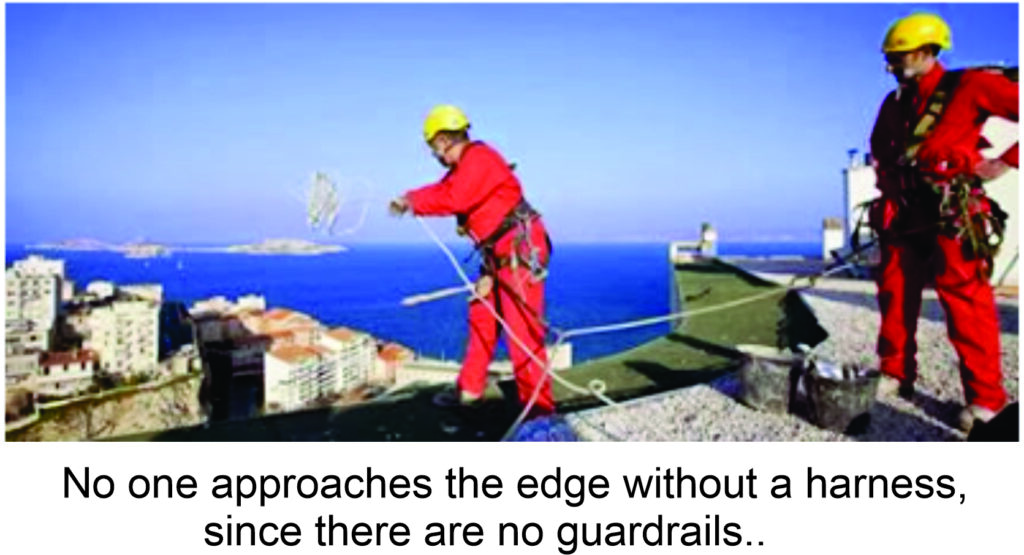
Now let’s change the scenario. Suppose the guardrail system cannot be installed because the following day a crew will be installing the façade glass, and the guardrails would interfere with that work. If guardrails cannot be used, then no one should approach the edge without a harness, lifeline, and anchor point—a personal fall protection system.
Using that example, I can now explain why collective protection should be the first option.
Collective protection systems have two main advantages. First, as we’ve seen, they protect multiple people from the risk created by a hazard. Second, they do not require specialized training or certification to be effective. No one needs to train you to follow safety signage, stay behind a guardrail or parapet, use a pedestrian bridge, or recognize emergency lighting—these measures provide protection by design.
Personal protection systems, on the other hand, require the user to be properly trained. And it’s easy to understand why: something as simple as putting on a harness incorrectly can cost you your life in the event of a fall.
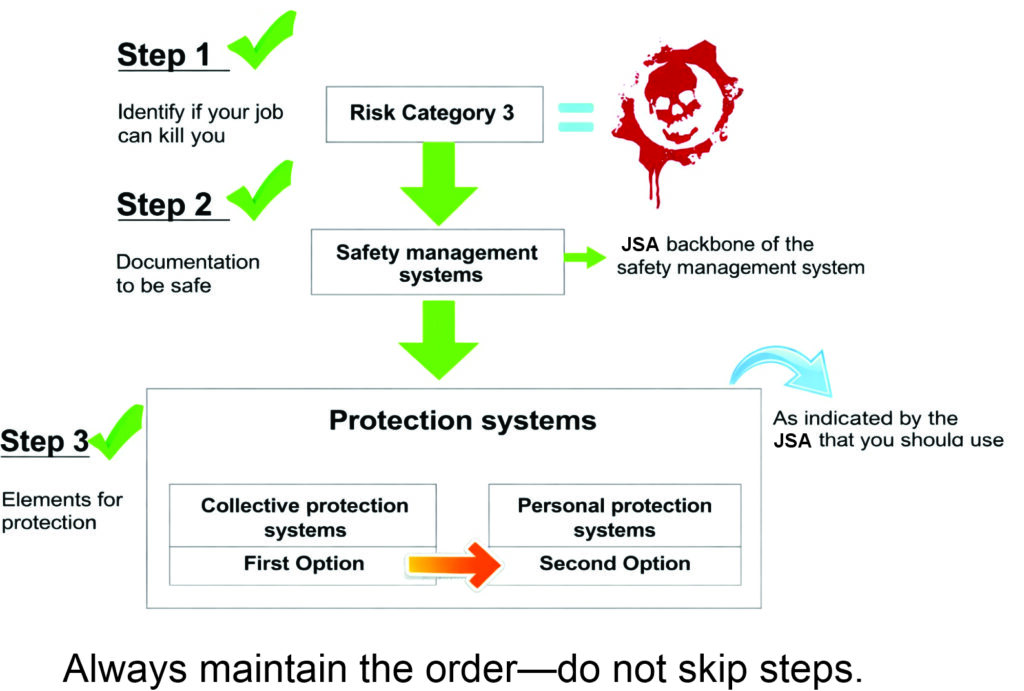
As you can see, if you follow the steps above in the correct order, you can address all the safety measures required before starting work.
I recommend viewing this as a flowchart: you move step by step without skipping any, and you only move to the next step once the previous one has been fully addressed. Here is an example:
Before concluding, it’s important to note that all protection equipment—whether collective or personal—must be manufactured by reputable companies that ensure these products comply with current safety standards and are properly certified. I will not go into the specifics of standards and certifications here, as that is not the purpose of this article; that will be addressed separately.
I hope this article has been useful.
Wishing you a safe day.
Until next time.
Author: Gianfranco Binda
Bison Up – High Access Specialist